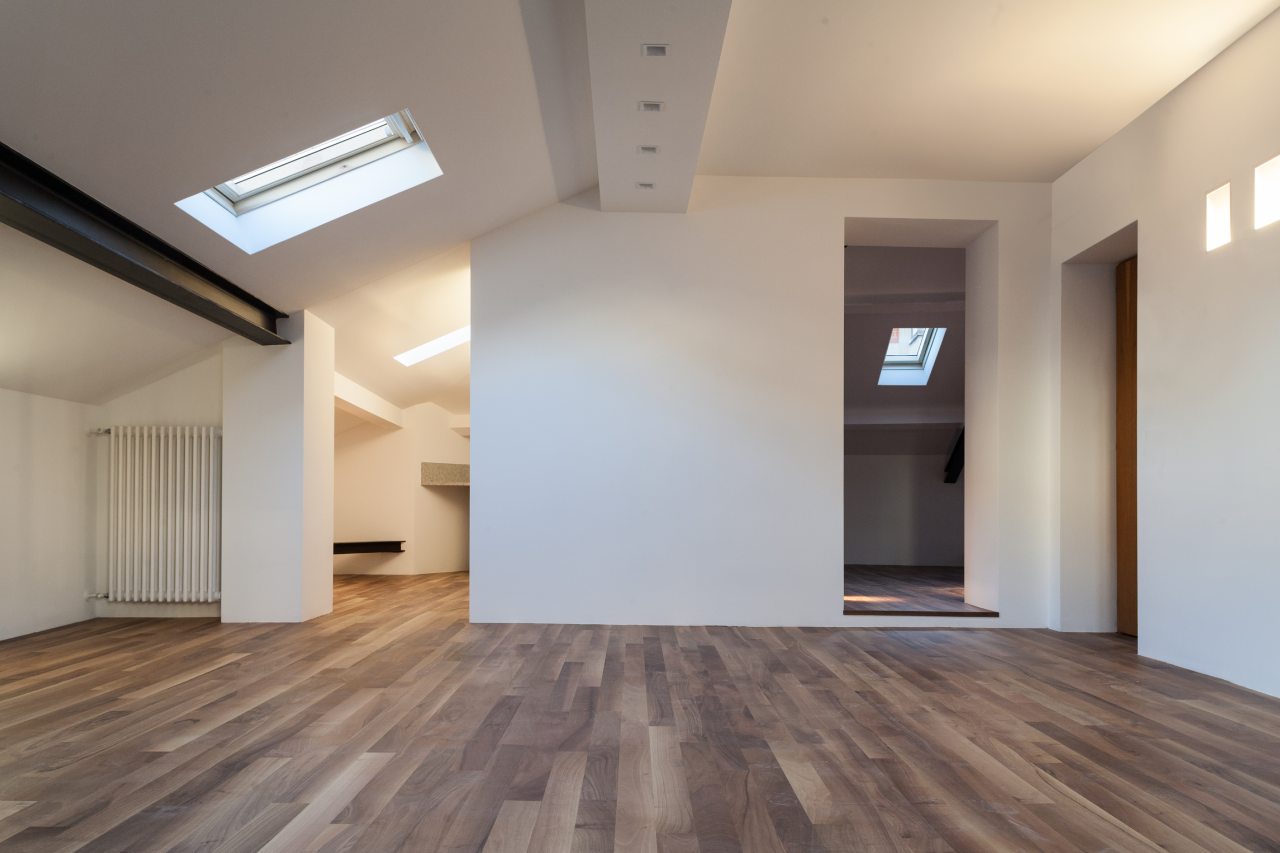
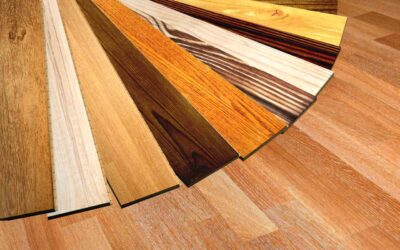
If you’re like most people you probably love the look and charm of a hardwood floor. Hardwood floors never go out of fashion and can add real value to your home. I have hardwood flooring in every room in my house and I love it.
Hardwood floors are durable and natural, come in a variety of species, are hypoallergenic and easy to maintain. When well-maintained these floors can last a hundred years. For those brave souls undertaking this project, I offer up these four tips for success.
1. Examine Your Subfloor
If your subfloor is in poor condition, putting down hardwoods won’t help. You need to have a relatively level subfloor, and any changes in height should be less than 3/16″ over a 6′ span. There are a couple different ways to level out a subfloor. The easiest scenario occurs when OSB or plywood isn’t anchored down very well and adding a handful of screws takes care of the problem. More drastic measures include planing the joists or even installing an additional layer of plywood with an appropriate “filler” to achieve uniformity.
2. Acclimate The Wood
Increased moisture causes wood to expand while less moisture causes wood to contract. This is called wood movement wood movement. It’s important for hardwoods to acclimate in the space where they will be installed. Wood that is not fully acclimated will result in gaps during the winter and possibly cupping during the summer. To avoid this, open and spread out the boxes for about a week, and be sure to run the A/C or heat at normal levels. Never store the hardwoods in a moisture rich environment like an unfinished basement.
Even after proper acclimation, the wood will expand/contract as moisture levels change. That’s why it’s important to leave about a 1/4″ gap around the perimeter of your install. Don’t worry, this is concealed with baseboard and molding. If moisture is a major concern for your area, consider installing engineered wood as many do not require acclimation.
3. First Row Must Be Straight
It’s very important for the first row of hardwoods to be installed straight as every row after will be laid relative to it. A crooked first row will result in large curves as you progress through the space. Exterior walls are often not square so consider marking a line parallel to an inside wall, opposite of your starting position. Mark the locations of your joists and install the hardwoods perpendicular. Make sure you drive a fastener into a joist at each opportunity. Consider what obstacles, like a fireplace hearth, are present how different starting points will make the job easier.
4. Top Nail And Glue The Boards
You’ll encounter scenarios where the flooring nailer will not fit, like when laying the last board. Invariably, you’ll need to top nail or face nail these boards. Grab your wood glue and add a bead to the groove of the previous board. Use scrap wood and a pry bar to securely wedge these boards in place. Be sure to hold the finish nailer with adequate force to prevent it from jumping around and marring the surface of the board.


0 Comments